Let’s create a real flow from a catalog template, adjust its trigger and its decision step, activate it, and watch a run progress on its own record.
4.1 Creating the flow from a template
Section titled “4.1 Creating the flow from a template”-
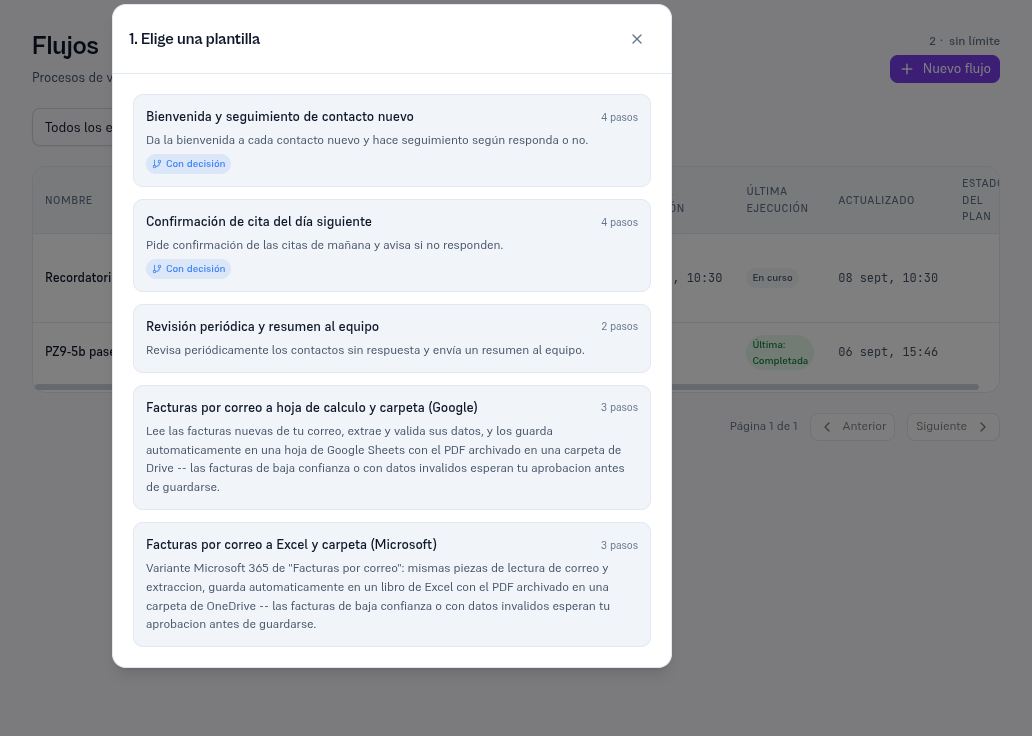
On Flows, tap “New flow” → “From a template” (section 3.1).
-
Choose the “Next-day appointment confirmation” template — it comes with 4 steps including a decision.
-
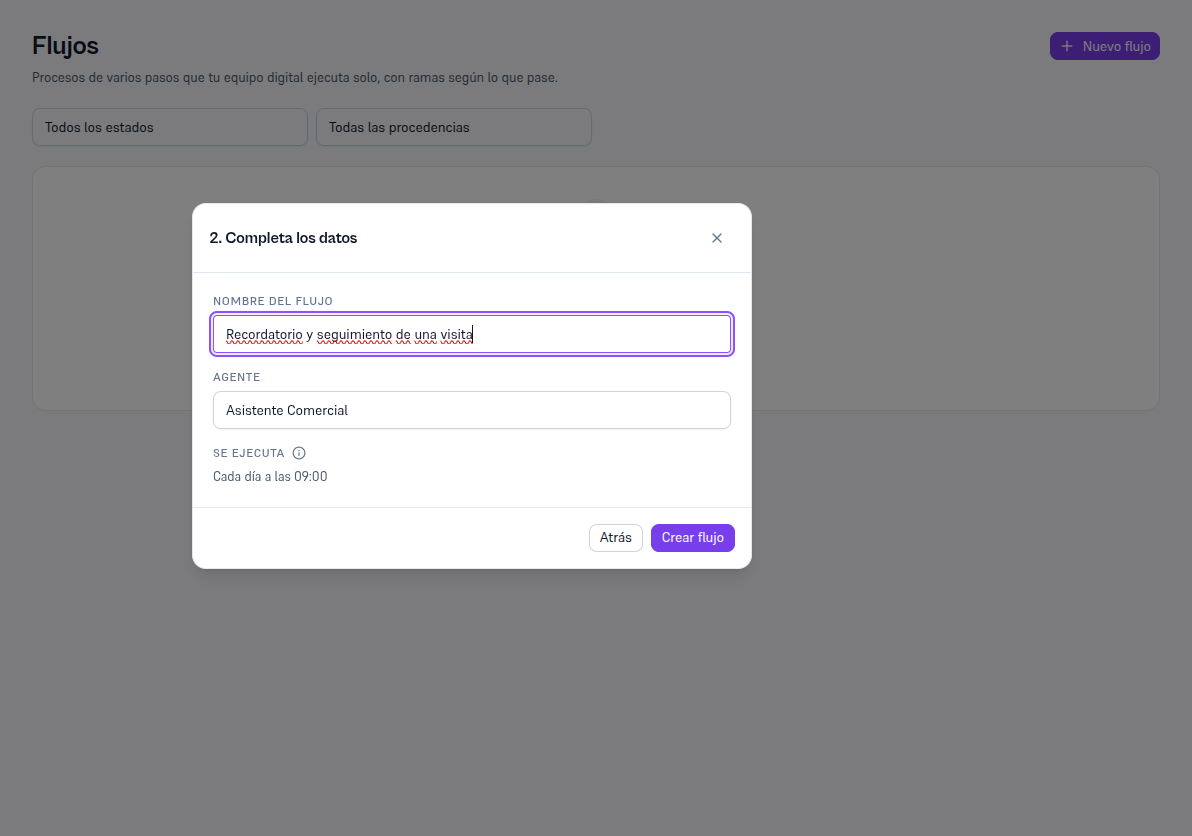
Change the flow’s name to something of your own, for example “Appointment reminder and follow-up”.
-
Choose the agent that’s going to run it — in this case, the Sales Assistant.
-
This template doesn’t ask for any more data (some do, like a welcome message). Review how it runs by default below and tap “Create flow”.
4.2 Activating it
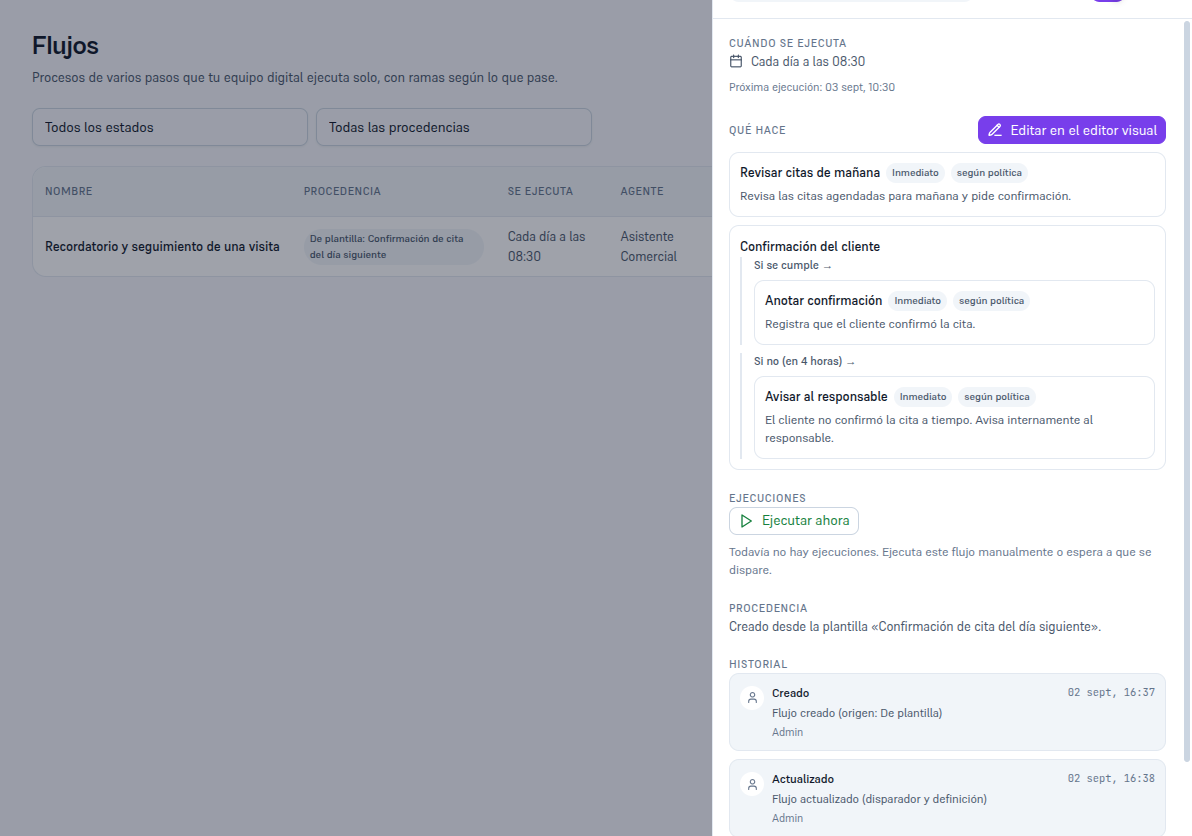
Section titled “4.2 Activating it”Once created, its record opens (section 3.2), with the active toggle off. Tap it to activate it.
4.3 Adjusting the trigger and the decision step
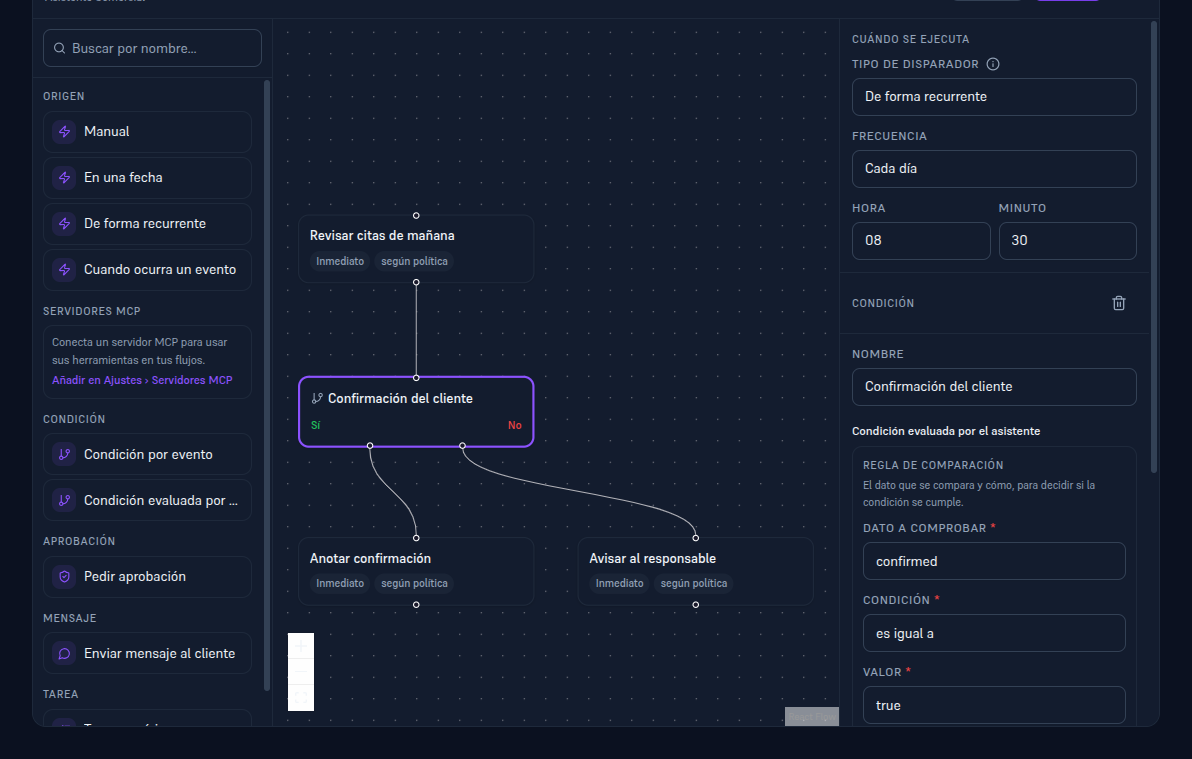
Section titled “4.3 Adjusting the trigger and the decision step”Tap “Edit in the visual editor”. Let’s move the daily check half an hour earlier and shorten how long we wait for the customer’s confirmation.
-
In the “When it runs” panel, change the hour to 08 and the minute to 30 — the flow will now fire at 08:30.
-
Tap the “Customer confirmation” card on the canvas — it’s the decision step, with two outputs (Yes/No).
-
In its panel, change “How often it’s rechecked” to 1 hour (instead of 4) and the “Maximum deadline” to 4 hours (instead of 1 day) — that way the team finds out sooner if the customer hasn’t confirmed.
-
Tap “Save”, at the top right.
Note — What this template’s two branches mean
If the customer confirms in time (“Yes”), the flow just logs the confirmation. If they don’t confirm within the maximum deadline (“No”), it notifies the owner internally — the customer never sees a “you ran out of time” message, it’s an internal notice for your team.
4.4 Running it and viewing the run record
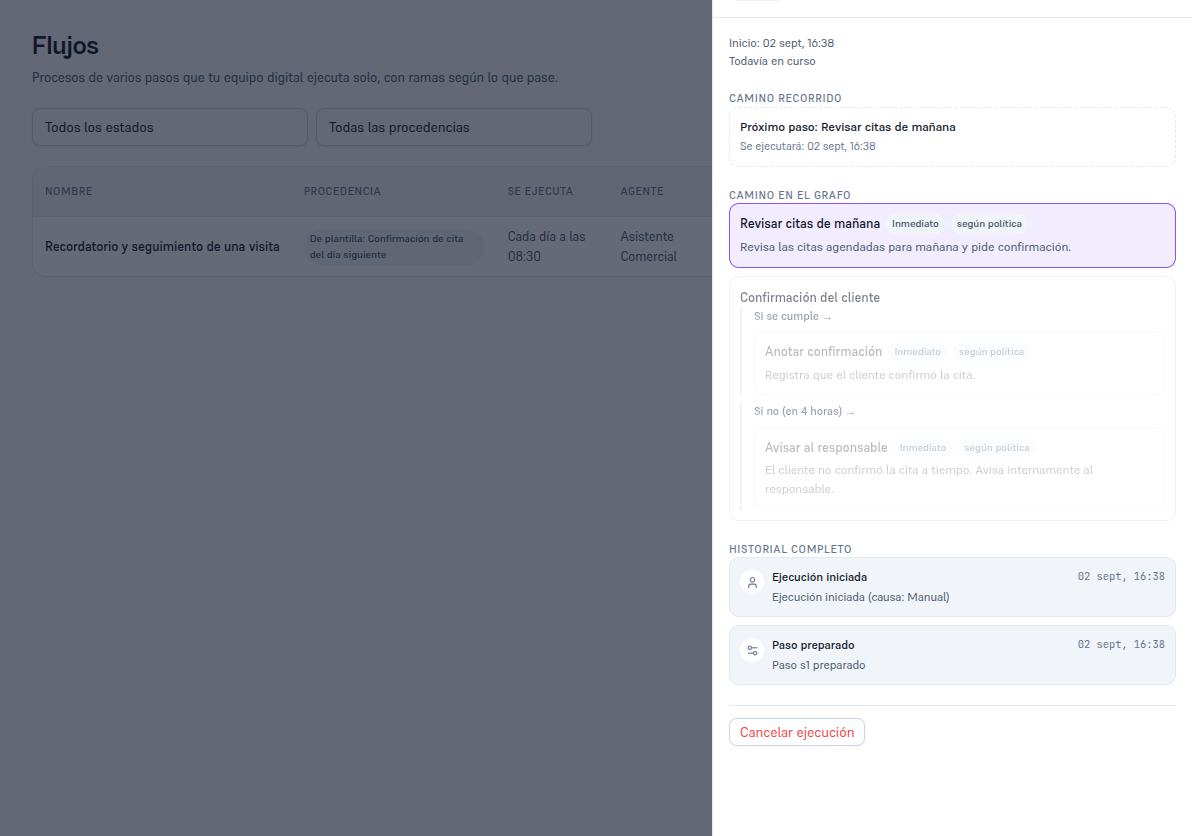
Section titled “4.4 Running it and viewing the run record”- Back on the flow’s record, scroll down to “Runs” and tap “Run now”.
- The run record opens instantly, with the first step just set up.
4.5 Completing the first step by hand
Section titled “4.5 Completing the first step by hand”This template’s first step (“Check tomorrow’s appointments”) is an instruction with no automatic action attached — so, as soon as its turn comes up, it’s left waiting for someone on the team to complete it by hand. That’s normal: it happens with any step (from a flow or stand-alone) that doesn’t have a curated action behind it.
-
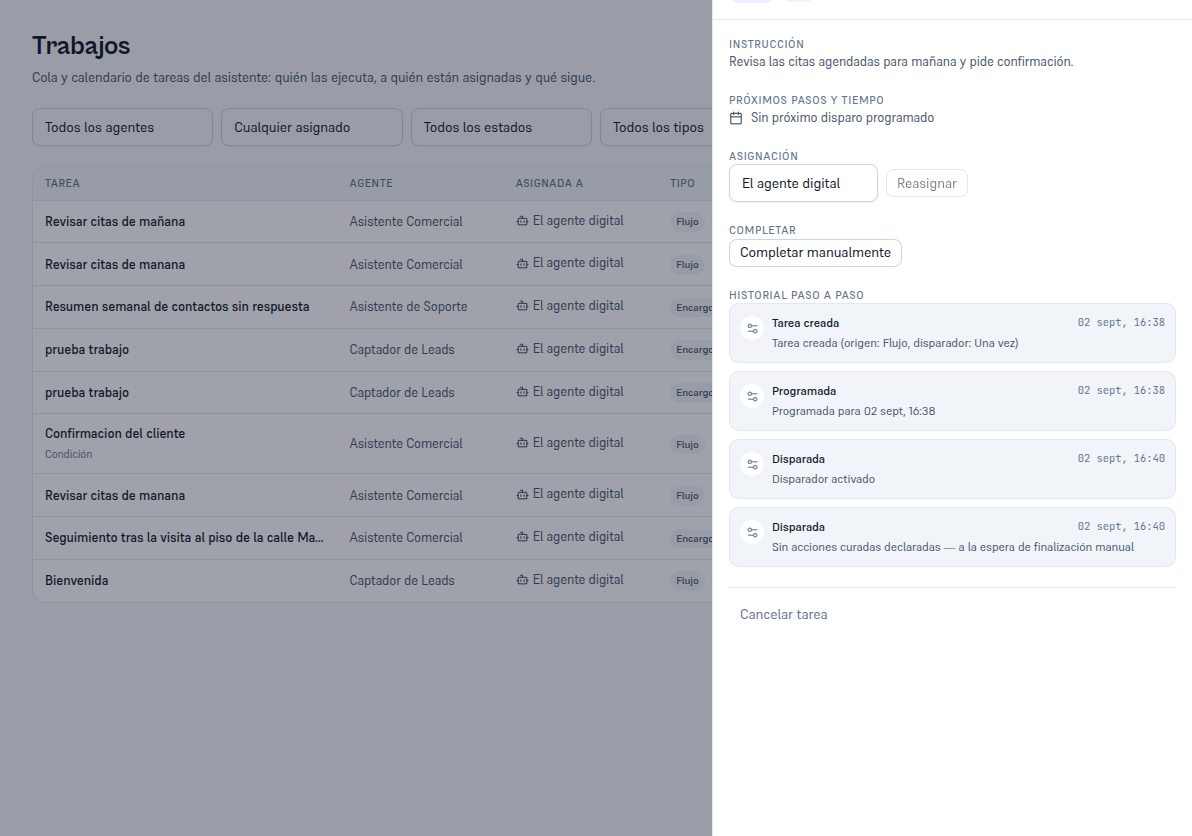
Go into Jobs and open the “Check tomorrow’s appointments” task (Flow type, Active status).
-
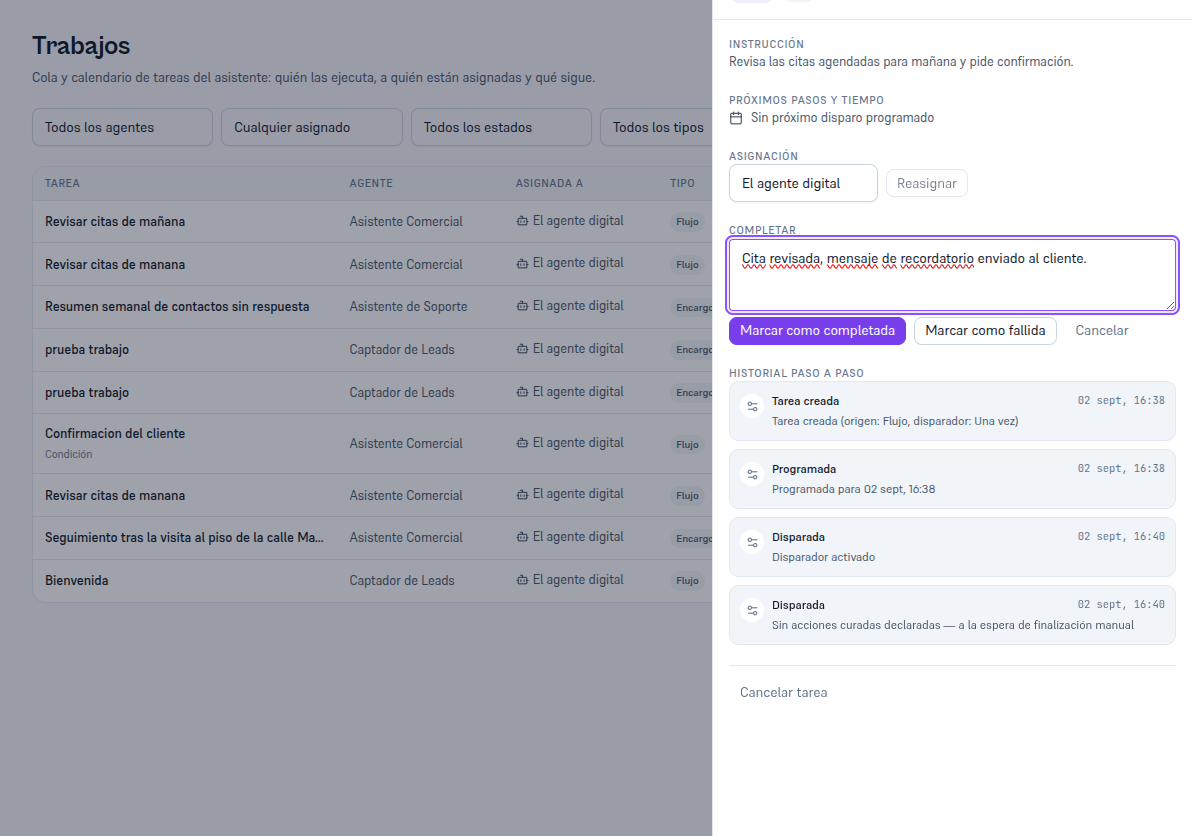
Scroll down to “Complete” and tap “Complete manually”.
-
Type, if you want, a closing note — for example, “Appointment checked, reminder message sent to the customer”.
-
Tap “Mark as completed”.
4.6 The flow moves on to the decision step
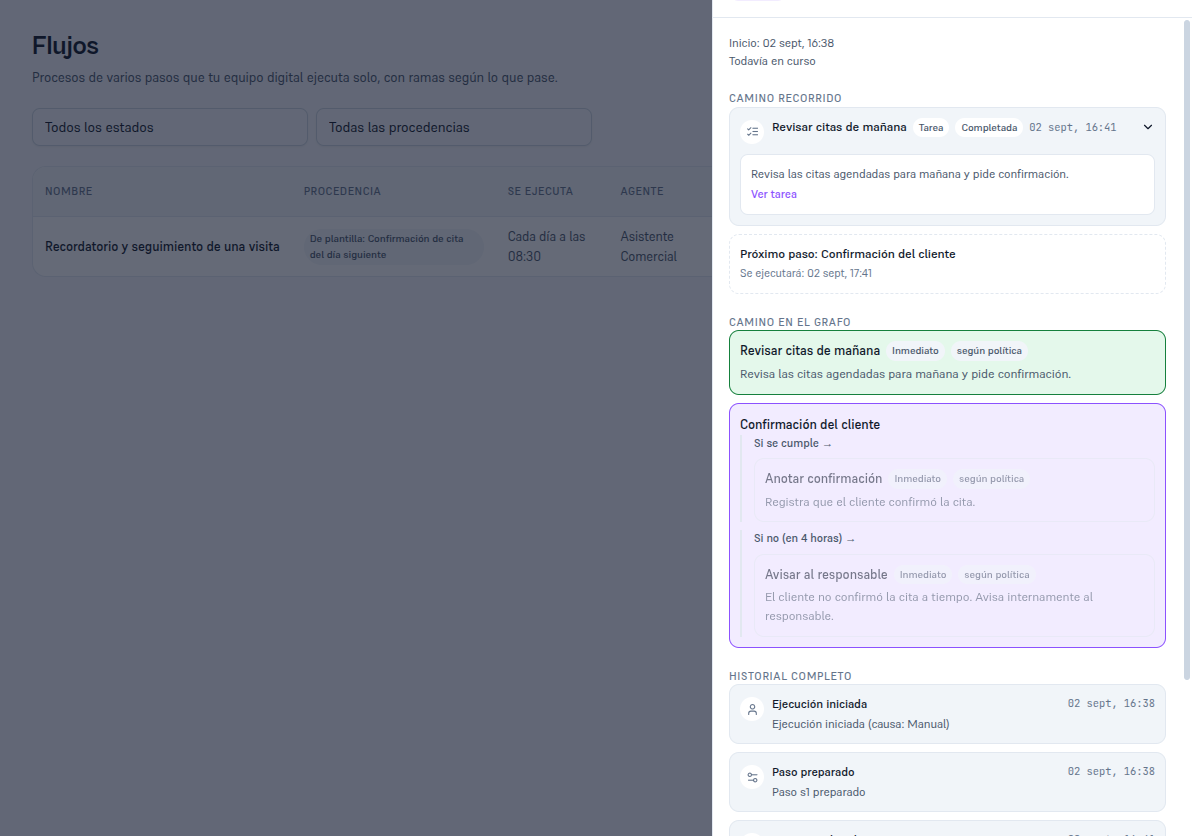
Section titled “4.6 The flow moves on to the decision step”As soon as you mark the first step as completed, the flow automatically sets up the next one. Go back to the run record (from the flow’s record, or from the “View task” link on any of its steps) to see it.
What’s next: since this step is checked “when the assistant evaluates it” (section 4.3), the assistant reviews it every hour — with no real confirmation data available, it keeps retrying until the appointment is confirmed or, once the 4-hour maximum deadline passes, it takes the “No” branch and notifies the owner. All of that reasoning is logged in the run record’s full history, step by step.